


A: However you want it to look.
Tutorials now @ patchthecode.github.io

- Range selection - select dates in a range. The design is entirely up to you.
- Boundary dates - limit the calendar date range
- Week/month mode - show 1 row of weekdays. Or 2, 3 or 6
- Custom cells - make your day-cells look however you want, with any functionality you want
- Custom calendar view - make your calendar look however you want, with what ever functionality you want
- First Day of week - pick anyday to be first day of the week
- Horizontal or vertical mode
- Ability to add month headers in varying sizes/styles of your liking
- Ability to scroll to any month by simply using the date
- Ability to design your calendar however you want. You want it, you build it
- Complete Documentation
Important Change in version 7.1.0 --> patchthecode#553
Tutorials
1. Building a Calendar from scratch

2. Designing the Calendar [Part1]

3. Mastering Calendar layouts

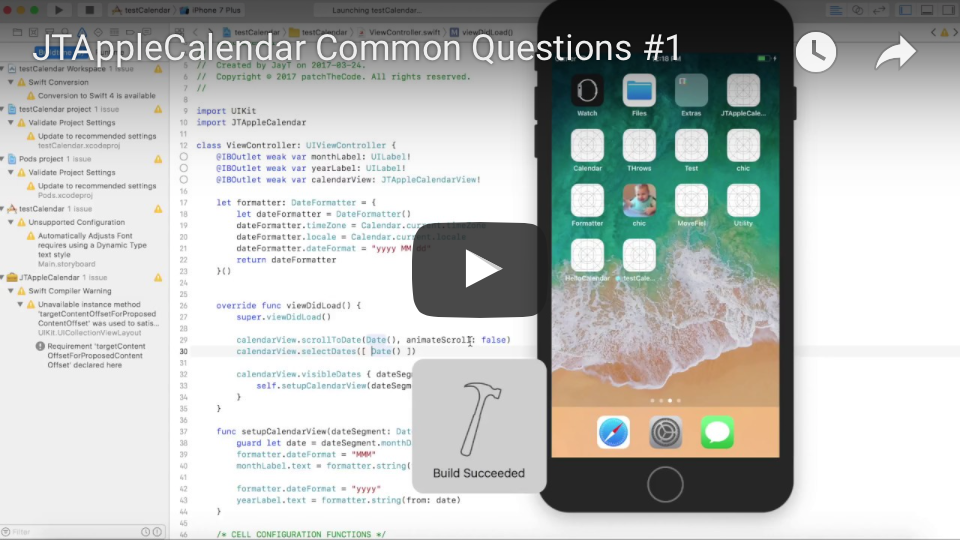
4. Common Questions #1
CocoaPods is a dependency manager for Cocoa projects. You can install it with the following command:
$ gem install cocoapodsCocoaPods 1.1.0+ is required to build JTApplecalendar.
To integrate JTAppleCalendar into your Xcode project using CocoaPods, specify it in your Podfile:
source 'https://github.com/CocoaPods/Specs.git'
platform :ios, '10.0'
use_frameworks!

target '<Your Target Name>' do
    pod 'JTAppleCalendar', '~> 7.0'
end
Then, run the following command:
$ pod installCompleted!
New to Cocoapods? Did the steps above fail? Then read on.
If you're new to CocoaPods, simply search how to integrate Cocoapods into your project. Trust me that 5-7 minutes of research will bring you much benefit. CocoaPods one of the top dependency manager for integrating 3rd party frameworks into your project. But in a nut-shell, here is how I did my installation with a sample project called test
- Install Cocoapods.
- Create a new xcode project. Save the name as: test
- Go to your console in the directory location where your project is located.
- Type and run the command: pod init
- This will create a file called: Podfile in that same location.
- Edit that Podfile so that it looks like the following:
# Uncomment the next line to define a global platform for your project
# platform :ios, '9.0'

target 'test' do
  use_frameworks!
  pod 'JTAppleCalendar', '~> 7.0'
end
Save, and head back to terminal and run: pod install. If all Went well, installation should be complete. Close the XCodeproject, and instead reopen it using the workspace file which generated when installation was completed. Done.
Carthage is a decentralized dependency manager that builds your dependencies and provides you with binary frameworks.
You can install Carthage with Homebrew using the following command:
$ brew update
$ brew install carthage
To integrate JTAppleCalendar into your Xcode project using Carthage, specify it in your Cartfile:
github "patchthecode/JTAppleCalendar" ~> 7.0
Run carthage update to build the framework and drag the built JTApplecalendar.framework into your Xcode project.
Simply drag the source files into your project.
JayT, [email protected] <-- Sending me emails will not get you a swift response. I check it once every 2 weeks or so. Create a new issue here on github if you need help.
JTAppleCalendar is available under the MIT license. See the LICENSE file for more info.