Welcome to the Code A2Z - Project Blog—a collaborative blogging platform designed to simplify content creation, management, and sharing. It provides a structured environment where developers and writers can seamlessly integrate submodules, customize templates, and efficiently manage their projects. With role-based access, built-in SEO optimization, and community discussions, Code A2Z - Project Blog enhances collaboration and ensures global visibility for your work.
Code A2Z is an open-source platform where you can submit your projects, update them anytime, and improve the platform itself. It’s perfect for developers and writers who want to showcase their work, collaborate with others, and gain global visibility.
Join us, contribute, and grow together! 🌍✨
| Feature | Description |
|---|---|
| Markdown Support | Easily write and format blog content using Markdown, making it clean and well-structured. Markdown helps in organizing text, adding headings, lists, links, and images without complex coding. |
| Submodule Integration | Allows you to add external repositories as submodules, making it easier to manage and link different projects inside your blog. This helps in organizing code and keeping everything in one place. |
| Customizable Templates | Choose from ready-made templates to design your blog the way you like. These templates help in quickly setting up a beautiful and professional-looking blog. |
| Project Contribution Workflow | Submit your project to this repository and update it anytime. You can also contribute more by improving your project and raising pull requests (PRs) to update Code A2Z itself. This helps in growing your project while also making Code A2Z - Project Blog better. |
| Global Visibility | Your blog and projects will be visible to a larger audience worldwide. This increases your chances of getting noticed, getting feedback, and collaborating with others. |
| Community Discussions | Connect with other contributors, discuss ideas, ask questions, and share knowledge. This makes learning and improving projects easier through teamwork. |
| Full Ownership | You have complete control over your projects and contributions. No one else can change your work without your permission. |
| SEO Optimization | Code A2Z - Project Blog ensures your content is easily found on search engines like Google. This helps in reaching more people and increasing engagement. |
| Role-Based Dashboard | Different users have different levels of access. Admins can manage everything, collaborators can work on assigned projects, contributors can submit their work, and regular users can read and interact with blogs. |
Choose a contribution area that suits your skills
| Contribution Area |
|---|
| Add New Projects |
| Improve Existing Projects |
| Documentation Updates |
| Bug Fixes |
| Responsive Design |
| Code Readability |
| Optimization |
- Star the repository on GitHub to show your support.
- Browse the Issues to find tasks that need attention.
- Fork the repository to your own GitHub account to start working on your changes.
- Create a new branch for the issue you're working on.
- Make your changes, ensuring they align with the project's structure and standards.
- Add screenshots or screen captures of your changes to showcase their effects in the pull request.
- Submit a Pull Request, and it will be reviewed.
- Make sure to read and follow the Contributing Guidelines and Code of Conduct.
We want your work to be readable by others; therefore, we encourage you to note the following:
-
Project/Repository names should be in
kebab-caseletters (e.g.,to-do-list,joke-telling-application).Ensure your repository contains the following files:
- README.md → Briefly explain the project, its features, and use cases.
- SETUP.md → Step-by-step guide to setting up the project locally.
- LICENSE → Define the licensing terms for project usage.
- SCREENSHOT → Add an image showcasing the project’s UI, if available.
- WORKING PROTOTYPE → (Optional) Provide a live demo link or preview GIF/video.
- DEPLOYED URL → Attach a deployed URL in your project repository.
-
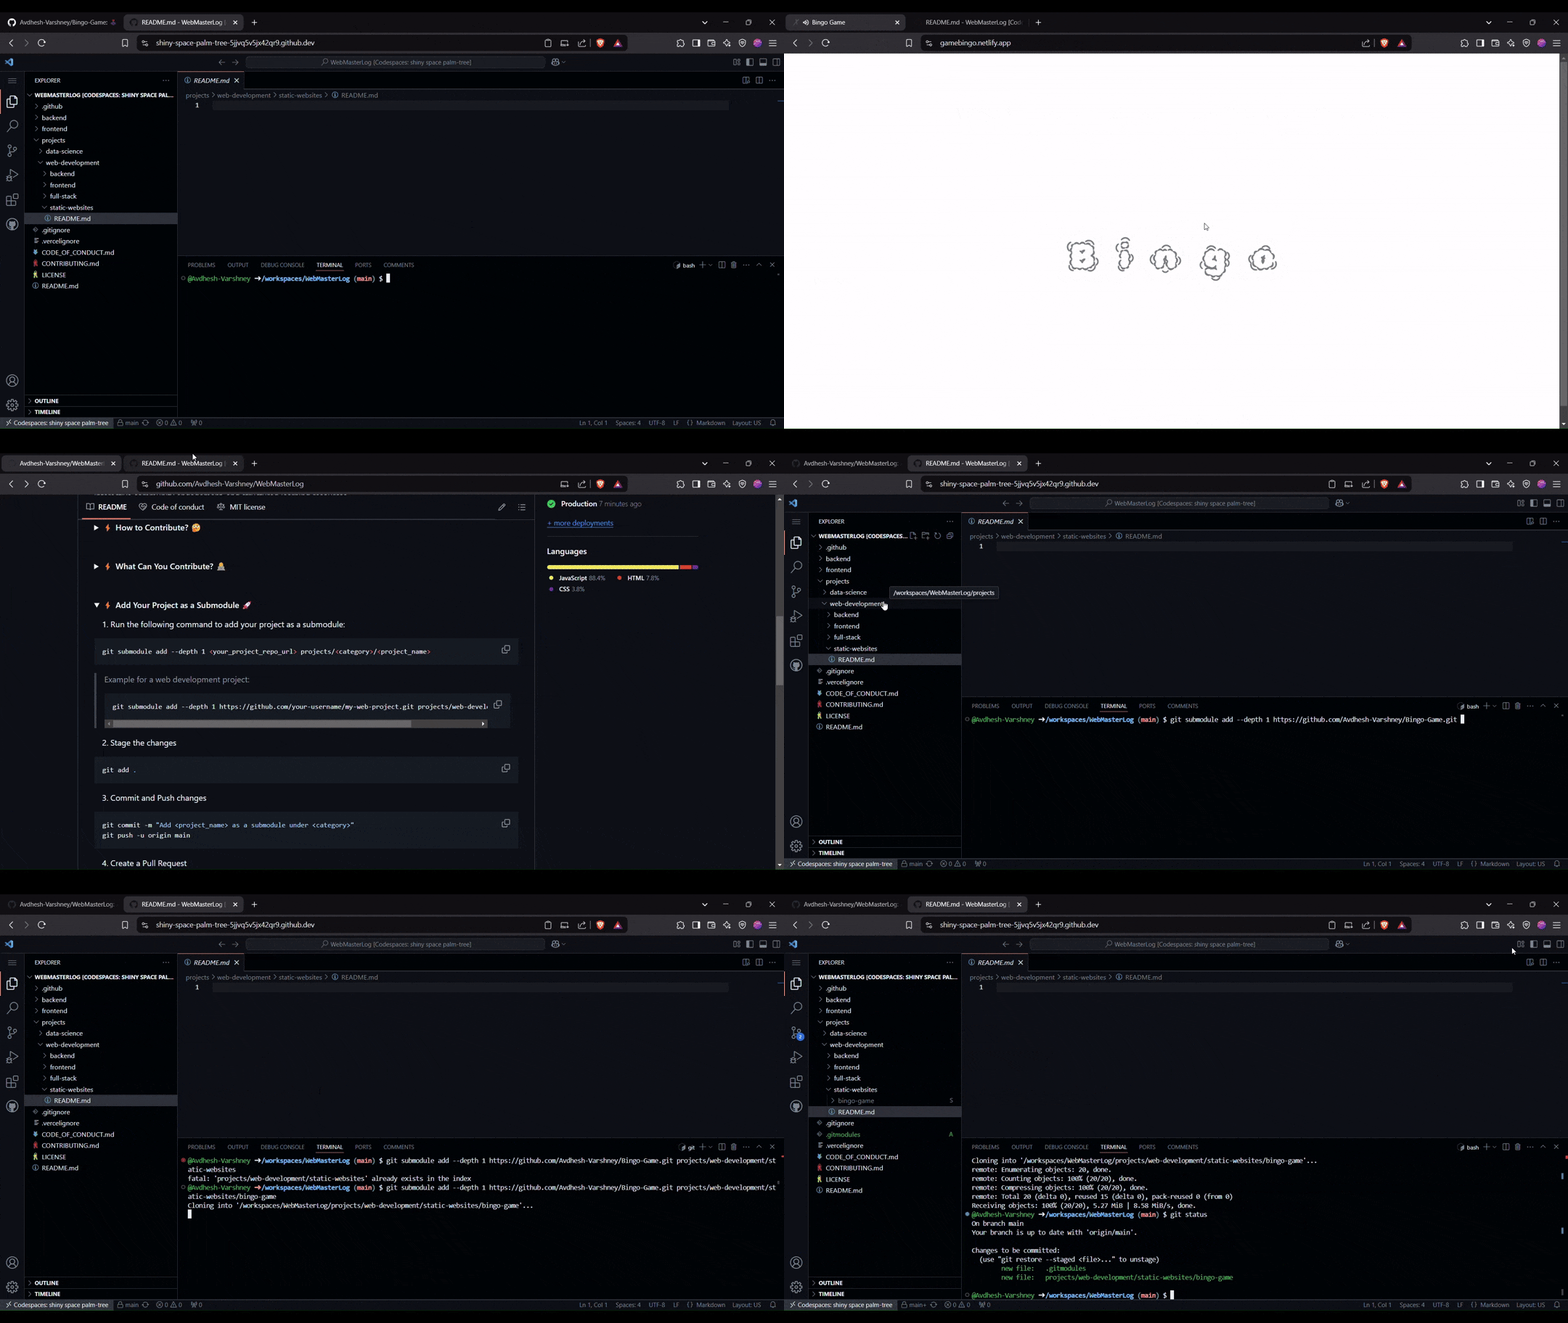
Run the following command to add your project as a submodule:
Run this command from the root directory
/workspaces/<this-project-name>
git submodule add --depth 1 <your_project_repo_url> projects/<category>/<project_name>Example for a web development project:
git submodule add --depth 1 https://github.com/your-username/my-web-project.git projects/web-development/my-web-project
- Create a new branch.
git checkout -b <add/project_name>- Stage the changes
git add .-
Commit and Push changes
Commit message should be clear. Never write un-necessary things in the commit messages.
git commit -m "Add <project_name> as a submodule under <category>"
git push -u origin <add/project_name>- Create a Pull Request
- Go to your forked repository on GitHub.
- Click on Compare & pull request.
- Provide a clear description of your project.
- Submit the PR for review.
- Fill out the PR template properly when submitting a pull request.
- Do not commit directly to the
mainbranch, otherwise your PR will be instantly rejected. - Ensure all work is original and not copied from other sources.
- Don't create more than 3-4 commits unless permitted by Admin and Mentors in your PR.
- Add comments to your code wherever necessary for clarity.
- 🚀 Before submitting a PR, you must publish a blog about your project on our website. PRs without a blog will not be accepted.
- For frontend updates, share screenshots and work samples before submitting a PR.


