⚠️ WARNING: This code is not longer supported.The new widget is here: https://github.com/buildship-dev/webflow-nft-components
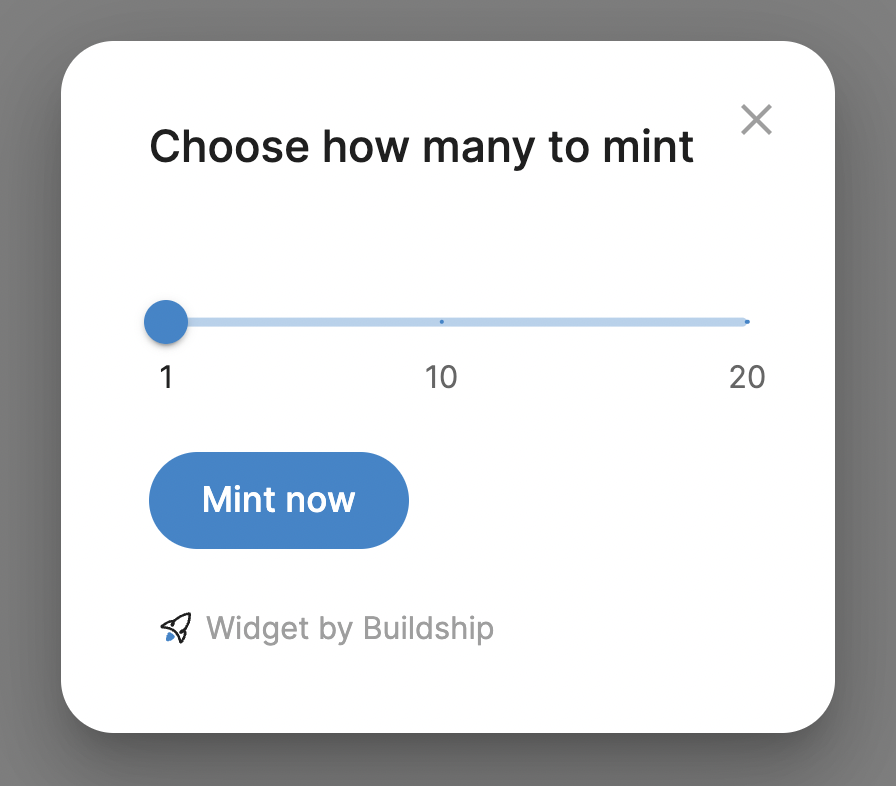
This widget allows minting NFTs on your website.
To start, you need an Ethereum NFT contract. Create it via Buildship app, or test with an example contract.
MetaverseNFT contract by buildship.xyz is used by 40+ collections with 1000ETH+ in total volume. It features 40% lower mint gas fees, costs ~100$ in gas to deploy, bullet-proof security and extensions like presale lists, mint passes, etc.
- Open Webflow website editor
- Create a new Embedded HTML code block (at least Basic site plan required)
- Copy & paste this code in Webflow Embed block
<script>
   CONTRACT_ADDRESS = "YOUR CONTRACT ADDRESS HERE"
   IS_TESTNET = false
   MAX_PER_MINT = 20
   // place to put CONTRACT_ABI = [{...}]
</script>
<script src="https://nftcomponents.vercel.app/static/js/main.js"></script>
<link href="https://nftcomponents.vercel.app/static/css/main.css" rel="stylesheet">-
If you have your Ethereum NFT contract
✅ insert your contract address in
CONTRACT_ADDRESSfield✅ set
IS_TESTNETtofalseortruedepending on which network is the contract on:Ethereum MainnetorRinkeby Testnet.
If you don't have a contract, create it via Buildship app
Your contract should be verified on Etherscan. Otherwise you have to add
CONTRACT_ABI = [{...}]line in the above code, with your full contract ABI inserted. If you have an error saying your ABI is too long, click here.
- Create a button with ID
mint-buttonon your Webflow site
On the left side, press Add and find Button

Select your button, then on the right side, set Button id to mint-button

If you can't set an ID, you can set a button URL as mint-button or https://<your-website-url>/#mint-button
- You're done 🎉
<script>
   CONTRACT_ADDRESS = "0x8Fac2e25DFF0B248A19A66Ae8D530613c8Ff670B"
   IS_TESTNET = true
   MAX_PER_MINT = 20
</script>
<script src="https://nftcomponents.vercel.app/static/js/main.js"></script>
<link href="https://nftcomponents.vercel.app/static/css/main.css" rel="stylesheet"><script>
CONTRACT_ADDRESS = "YOUR CONTRACT ADDRESS HERE"
CONTRACT_ABI = []
NETWORK_ID = 4 // defaults to 1: Ethereum network
IS_TESTNET = true // true defaults to 4: Rinkeby network
MAX_PER_MINT = 5 // defaults to 20
DEFAULTS = {
hideCounter: false, // hide minted counter from the dialog. Default: true
contractMethods: {
mint: 'myCustomMintMethod' // defaults to "mint" or "publicMint"
}
}
STYLES: {
theme: 'dark' // Default: ''
}
</script>Yes, absolutely! You can contact us in Discord, or open a GitHub issue
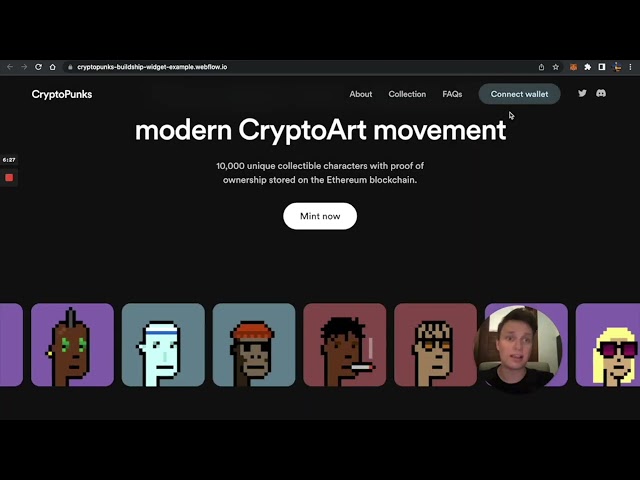
Mint button will ask to connect wallet, so it's not necessary to add a "Connect wallet" button.
If you still want to do it, create a Webflow button with ID connect.
Just create two text elements and assign them:
minted-counterID to display minted numbertotal-counterID to display collection size
It's easy! Set NETWORK_ID instead of IS_TESTNET in the code snippet
<script>
   CONTRACT_ADDRESS = "YOUR CONTRACT ADDRESS HERE"
   NETWORK_ID = 1
   // remove IS_TESTNET line
   ...
</script>
<script ...>
<link ...>
Some of the network IDs you might use:
- Ethereum Mainnet:
NETWORK_ID = 1 - Ethereum Rinkeby Testnet:
NETWORK_ID = 4 - Polygon:
NETWORK_ID = 137 - Binance:
NETWORK_ID = 56 - For other IDs visit Chainlist
You need to set DEFAULTS.hideCounter to true
<script>
   CONTRACT_ADDRESS = "YOUR CONTRACT ADDRESS HERE"
   NETWORK_ID = 1
   DEFAULTS = {
       hideCounter: true
   }
   ...
</script>
<script ...>
<link ...>
If that instruction was too complicated, check out our free clonable NFT website templates for Webflow