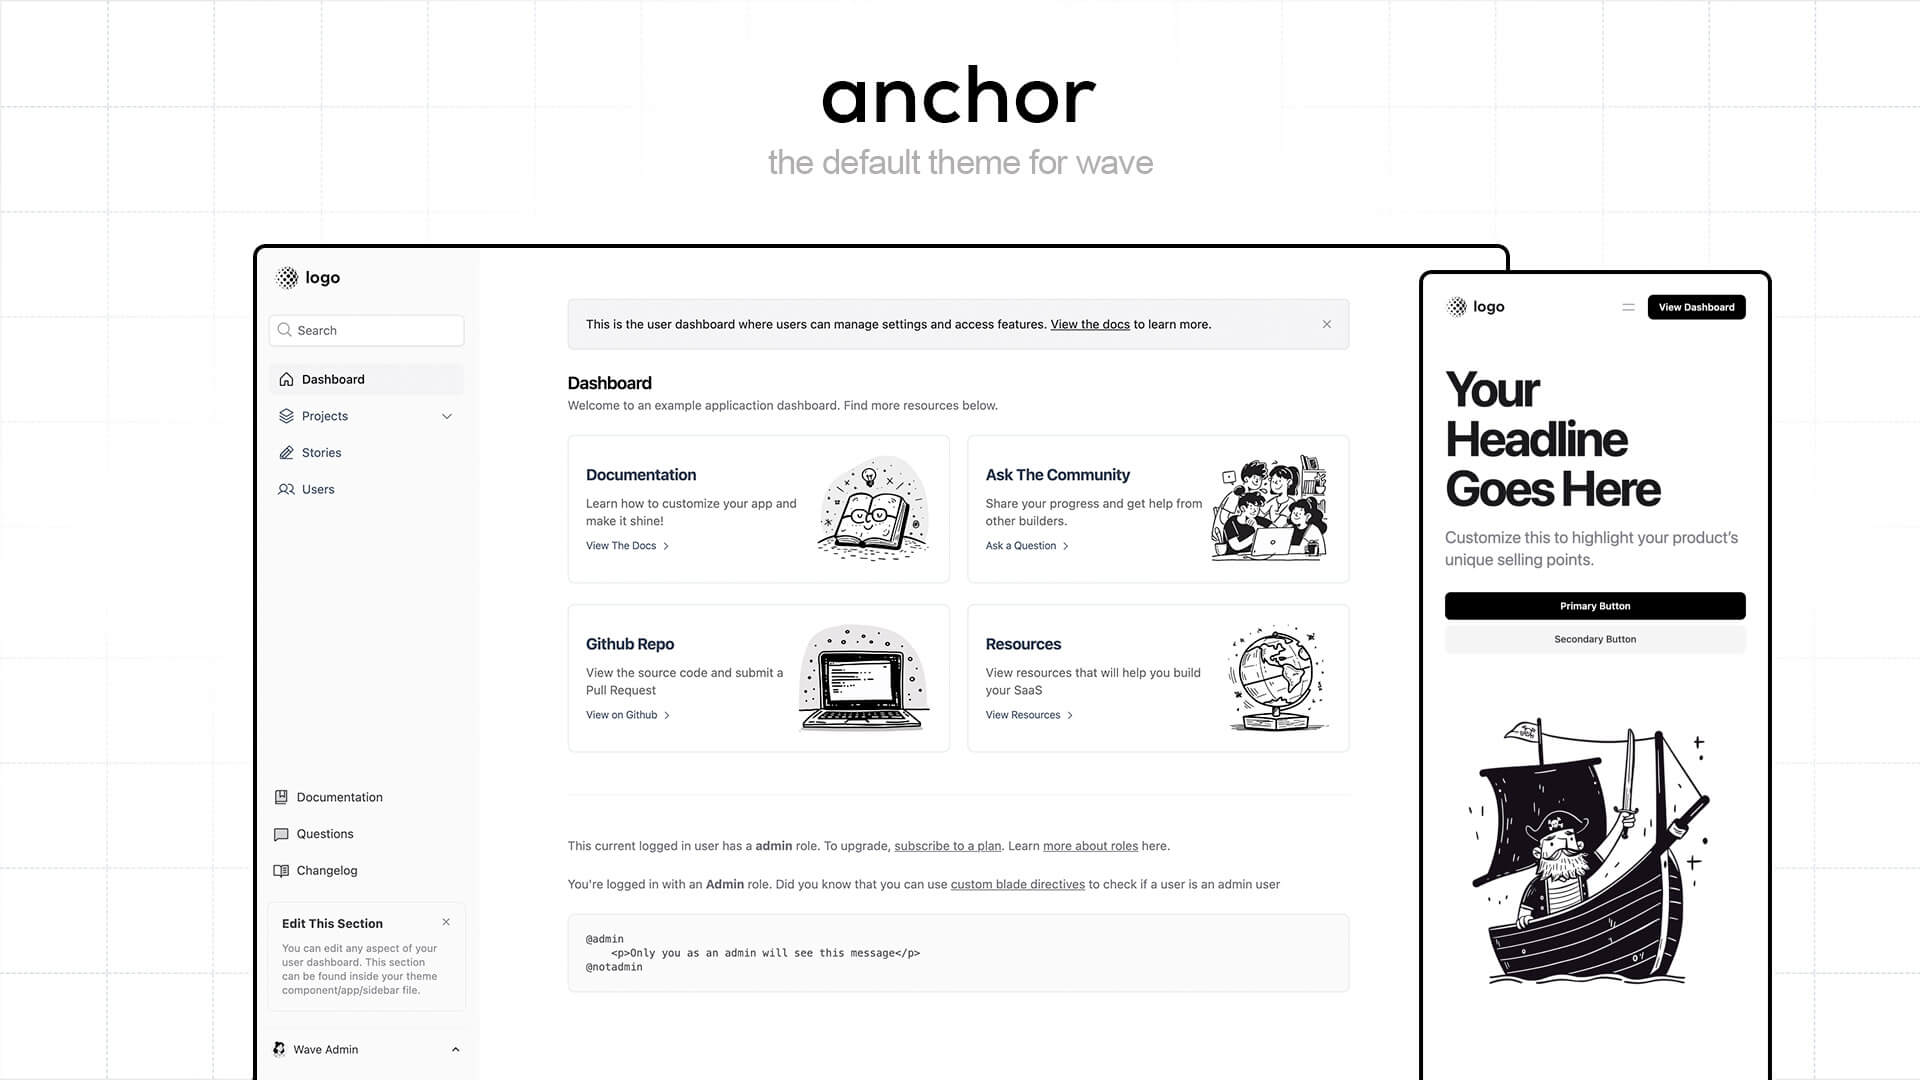
Wave is a SaaS framework, built with Laravel, that will make building your SaaS application fun and easier than ever before. View the full docs here.
Wave provides you with all the essential features found in many popular SaaS platforms, allowing you to quickly transform your idea into a profitable SaaS product. Here are a handful of features that Wave Provides:
- Authentication
- User Profiles
- User Impersonations
- Billing
- Subscription Plans
- Roles & Permissions
- User Notifications
- Changelog
- Blog
- Pages
- API
- Admin
- Themes
- Plugins
Be sure to view a list of all features here.
You can view a live demo here, which will also allow you to preview all the available themes.
You can easily deploy Wave to DigitalOcean App Platform with just a few clicks. All you need is a DigitalOcean account.
Click this button to deploy the app to the DigitalOcean App Platform. If you are not logged in, you will be prompted to log in with your DigitalOcean account.
Using this button disables the ability to automatically re-deploy your app when pushing to a branch or tag in your repository as you are using this repo directly. If you want to automatically re-deploy your app, fork the GitHub repository to your account so that you have a copy of it stored to the cloud. Click the Fork button in the GitHub repository and follow the on-screen instructions.
After forking the repo, you should now be viewing this README in your own GitHub org (e.g. https://github.com/< your-org >/wave). To deploy the new repo, visit https://cloud.digitalocean.com/apps and click Create App. Then, click GitHub, select the repository you created and select the main branch.
Once you're in the DigitalOcean Control Panel:
-
You can leave all default settings as-is if you're just testing.
-
For production or heavier workloads, consider adjusting:
- Component size (e.g., Basic vs. Professional)
- Number of containers
- Environment variables and secrets
- Database settings (if you want to use a managed database)
- Custom domain (optional, but recommended for production)
- The initial build will take a bit longer because it also provisions a development PostgreSQL database.
- This dev database is perfect for testing or staging.
- For production deployments, we recommend setting up a Managed PostgreSQL Database via DigitalOcean and attaching it to your app along with adjusting any necessary environment variables.
After deployment is complete:
-
Open the App Platform Console Shell from your dashboard.
-
Run the following command:
php artisan db:seed
This step is required only on the first deploy to populate your database with default data. Future deployments will work automatically as you push changes to the main branch.
There are two ways to install Wave, you can install it via the automated installer or manually.
Click here to view the full installation instructions.
For step-by-step instructions on how to create a Knowledge Base (KB) and an Agent using doctl CLI, please refer to the agent/README.md guide.
The best way to support this project is to support us by subscribing to a DevDojo Pro account. This will give you access to premium content to help you build your SaaS even quicker. Also, make sure to tell your friends and submit a PR if you want to contribute.
We've also got a full video series on how you can setup, build, and configure Wave. 🍿 You can watch first few videos for free, and additional videos will require a DevDojo Pro subscription. By subscribing to a DevDojo Pro subscription you will also be supporting the ongoing development of this project. It's a win win! 🙌
Click here to watch the Wave Video Course.
Checkout the official documentation here.
Wave is proudly supported by our amazing sponsors. A big thank you to:


